
Installation Guide
Applies to:
KeepStock
Inventory Scan
To install the software
- User can login to inventory solutions (http://inventory.grainger.com) and go to the userguides page and click on "Inventory Scan (CMI) - download " link
Step 1: Click the "Next" Click Download button below to begin the installation process.
- Unzip the files to an existing folder or create a new folder called "Install" under C:
- Go to the folder where you unzipped all the installation files
- Click setup.exe file to start the installation process
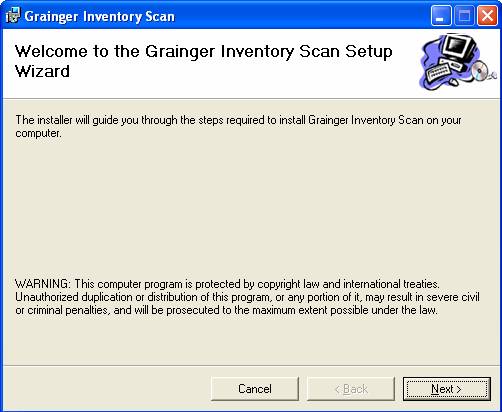
Step 2: Click the "Next" button on the Welcome screen for the “Grainger Inventory Scan” Setup Wizard is for Windows XP or older and Windows Vista or 7.
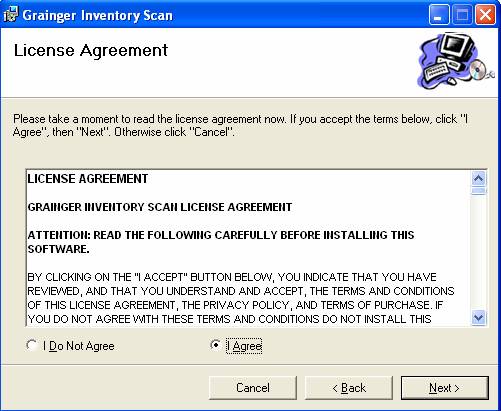
Step 3: To continue the installation process, select "I Agree" radio button on the License Agreement screen and click "Next" button.
Step 4: Click the "Next" button on the Select Installation Folder screen to install the program in the default directory. If you wish to install in another directory, specify the desired path for installation.

Step 5: Click the "Next" button on the Confirm Installation screen.


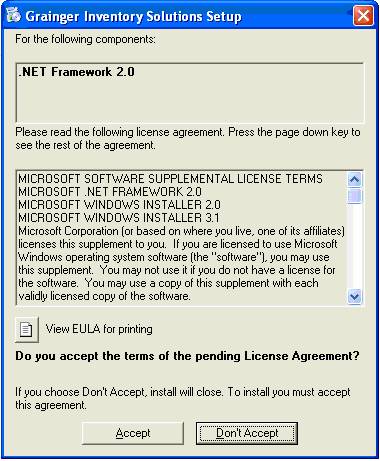
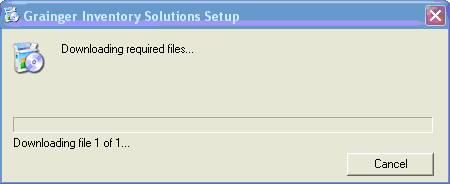
- If the machine has no .NET Framework 2.0 or has lower version (less than 2.0), it would prompt the user to install .NET Framework 2.0 as shown below. Click "Accept" button and allow the installation process continue with .NET Framework 2.0 download.
Step 6: Click "Next" button on the following screen (with readme content).

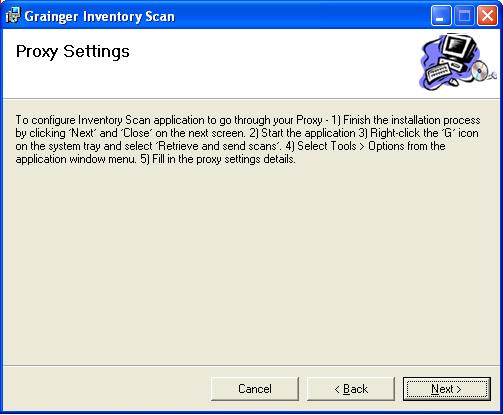
Step 7: Click the "Next" button on "Proxy Settings" screen.
Step 8: Click the "Close" button on "Installation Complete" screen.

To uninstall the software
Step 1: To uninstall the software application go to Start > Setting > ControlPanel.
Step 2: Click Add or Remove Programs which opens up a window with list of currently installed programs and updates. Select "Granger Inventory Scan" from the list and click "Remove" button. This would remove the application from the machine.